
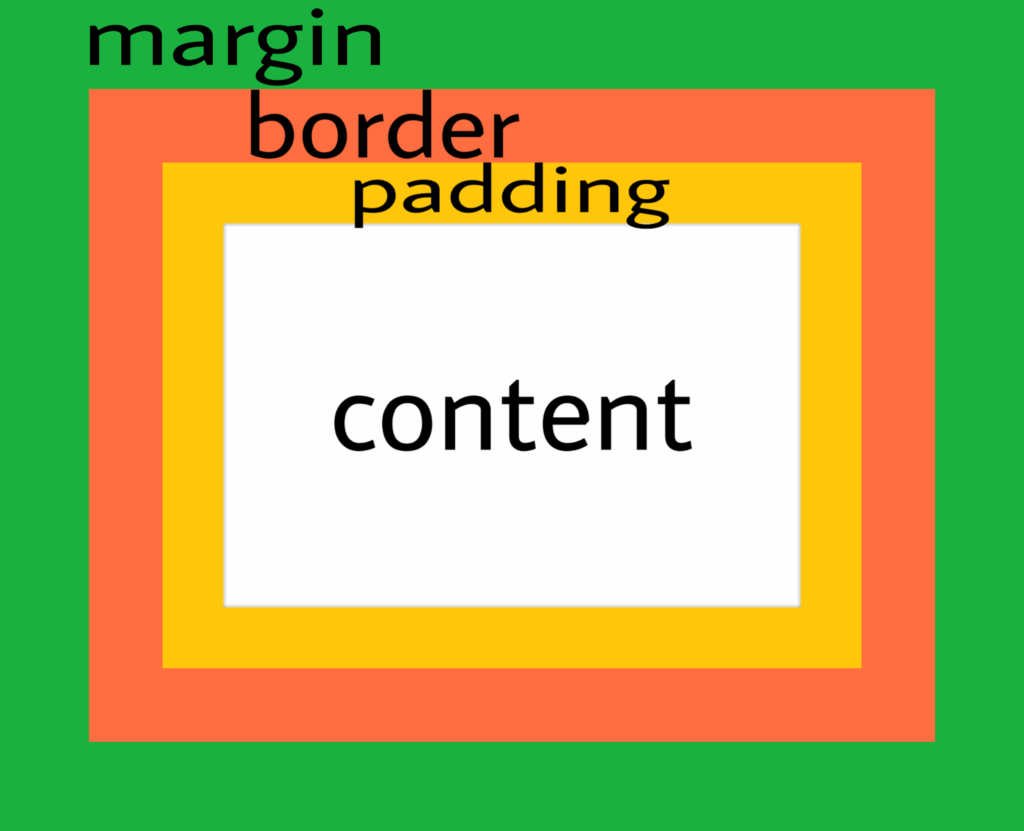
Padding in CSS is the space between an element’s content and its border. It can be used to create space between the content and the border and between the border and other elements on the page. CSS Padding
Padding can be set on all four sides of an element (top, right, bottom, and left) using the padding property. The padding property can take one to four values, depending on how many sides you want to set the padding for.
Examples:
- padding: 10px; – this will set 10px of padding on all four sides of the element.
- padding: 10px 20px; – this will set 10px of padding on the top and bottom of the element and 20px of padding on the right and left of the element.
- padding: 10px 20px 30px; – this will set 10px of padding on the top, 20px of padding on the right and left, and 30px of padding on the bottom of the element.
- padding: 10px 20px 30px 40px; – this will set 10px of padding on the top, 20px of padding on the right, 30px of padding on the bottom, and 40px of padding on the left of the element.
In addition to using the padding property, you can also set the padding for each side of an element separately using the padding-top, padding-right, padding-bottom, and padding-left properties.
Padding values can be set in pixels, percentage, em, rem, cm, mm etc.
Keep in mind that padding does not affect the position of the elements, it only increases the space inside the element.
CSS has four padding properties they are:
padding-toppadding-rightpadding-bottompadding-left
Example:
<!DOCTYPE html>
<html>

<head>
    <style>
        img {
            padding: 50px;
            border: 5px solid red;
            width: 450px;
            height: 350px;
        }
    </style>
</head>

<body>

    <h2>CSS Padding</h2>
    <img src="pets.jpg" />
    <h3>Above image has a padding of 50px.</h3>

</body>

</html>
Output:
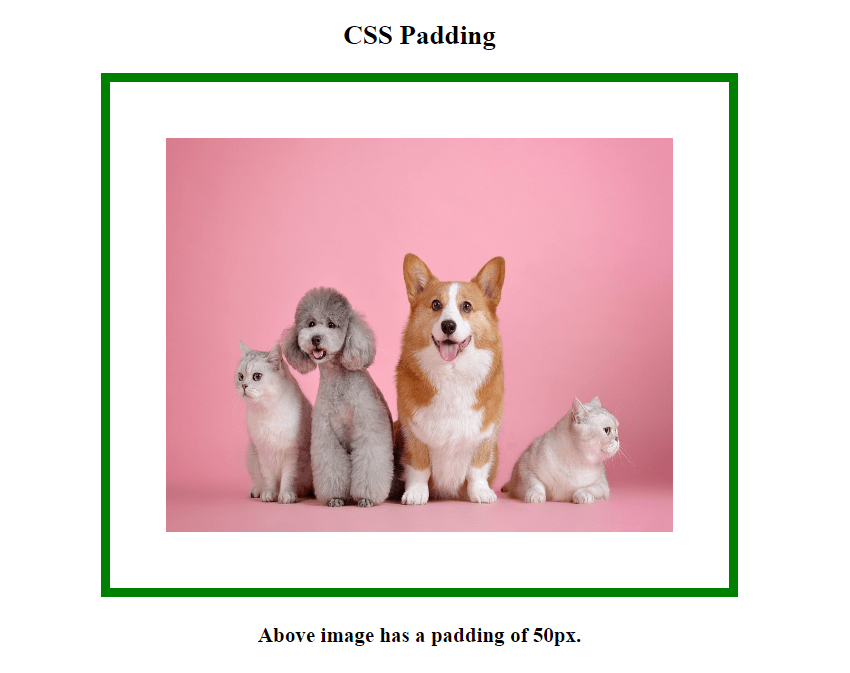
Note: For image property we are adding the padding of 50px so, all four sides it’s giving padding of 50px.
Example 2:
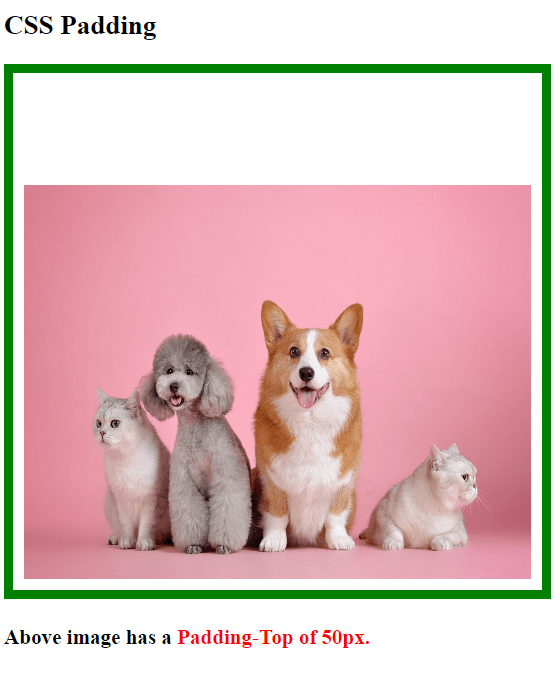
Padding-top Example
 <style>
        img {
            padding: 100px 10px 10px 10px;
            border: 8px solid green;
            width: 450px;
            height: 350px;
        }
 </style>
Output:
Example 3:
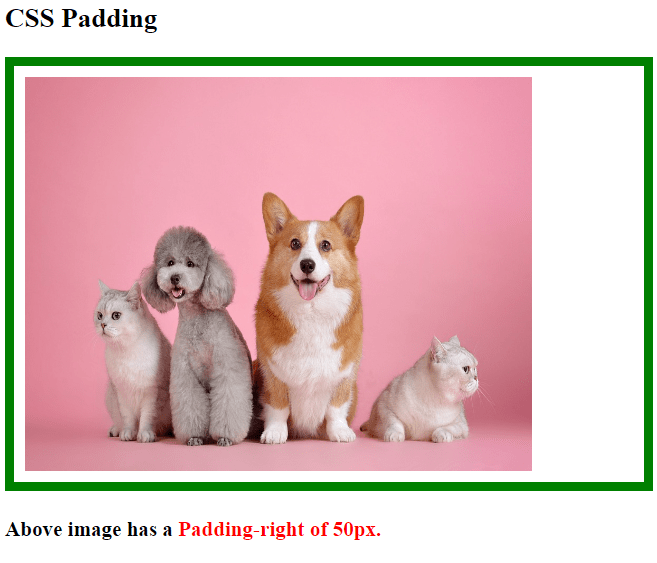
Padding-right Example
<style>
        img{
            padding: 10px 100px 10px 10px;
            border: 8px solid green;
            width: 450px;
            height: 350px;
        }
 </style>
Output:
Example 4:
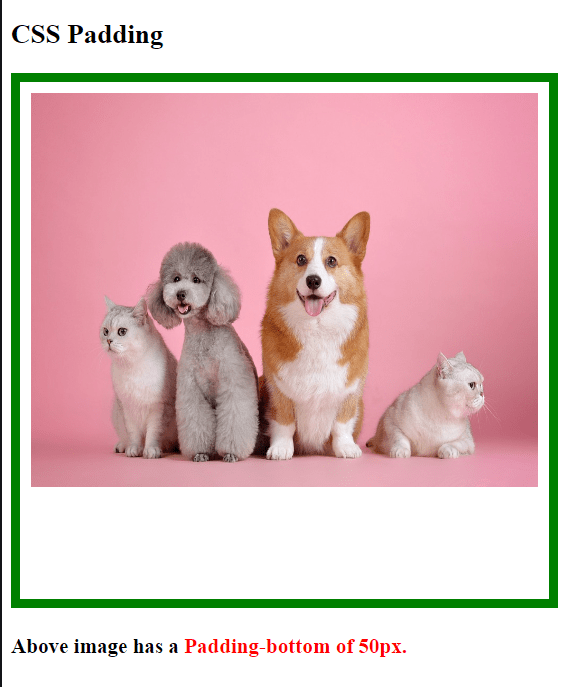
Padding-bottom Example
<style>
        img{
            padding: 10px 10px 100px 10px;
            border: 8px solid green;
            width: 450px;
            height: 350px;
        }
 </style>
Output:
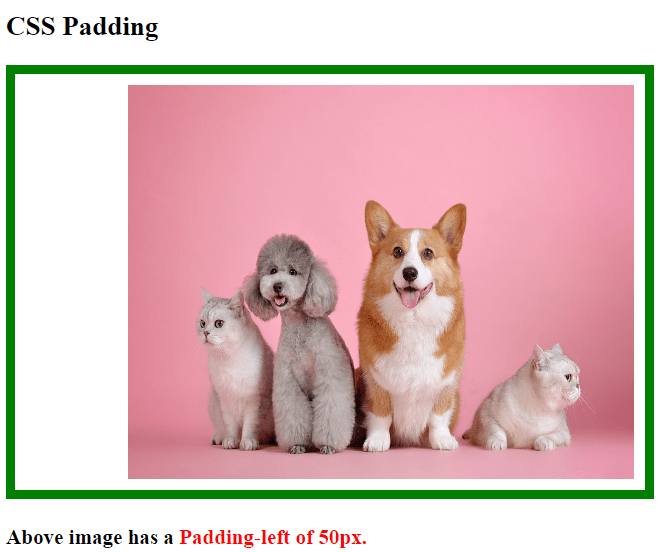
Example 5:
padding-left Example:
<style>
        img{
            padding: 10px 10px 10px 100px;
            border: 8px solid green;
            width: 450px;
            height: 350px;
        }
</style>
Output:
CSS Padding Properties :
| Property | Description |
|---|---|
| padding | property padding space on all sides of an element. |
| padding-bottom | Adjust the bottom padding of an element |
| padding-left | Adjust the left padding of an element |
| padding-right | Adjust the right padding of an element |
| padding-top | Adjust the top padding of an element |
Advantages:
CSS padding also offers several advantages:
- Improved Element Visibility: CSS padding adds space within an element, which can improve the visibility and legibility of its contents. By adding padding to a text box or image, for example, developers can create breathing room around the content, making it easier to read or view.
- Separation of Content: Padding can be used to separate content, creating clear boundaries between different elements on a page. This can be particularly useful when designing complex layouts with multiple sections or columns.
- Cross-Browser Compatibility: Similar to margins, CSS padding is a commonly used property and is supported by all modern browsers. This ensures that padding will work consistently across different devices and platforms.
- Responsive Design: Like margins, padding can be used to create responsive designs that adjust to different screen sizes. By setting padding to a percentage of the viewport width, developers can ensure that elements are spaced appropriately on screens of different sizes.
- Easy to Use: CSS padding is also easy to use and understand, even for beginners. With just a few lines of code, developers can adjust the padding of an element to create the desired space within it.

- Padding in CSS is the space between an element’s content and its border.
- CSS has four padding properties they are:
padding-toppadding-rightpadding-bottompadding-left